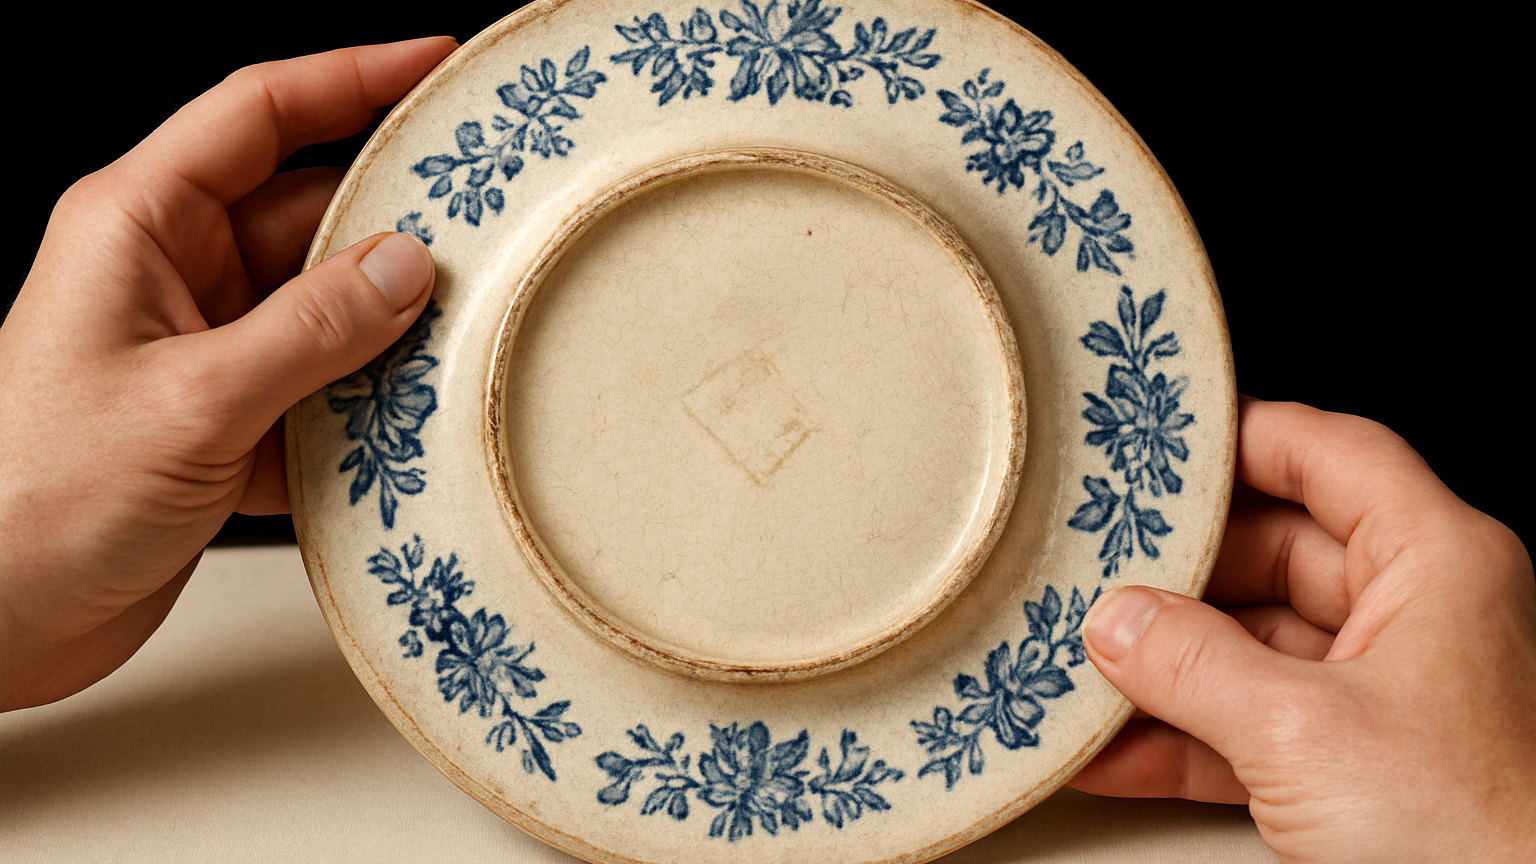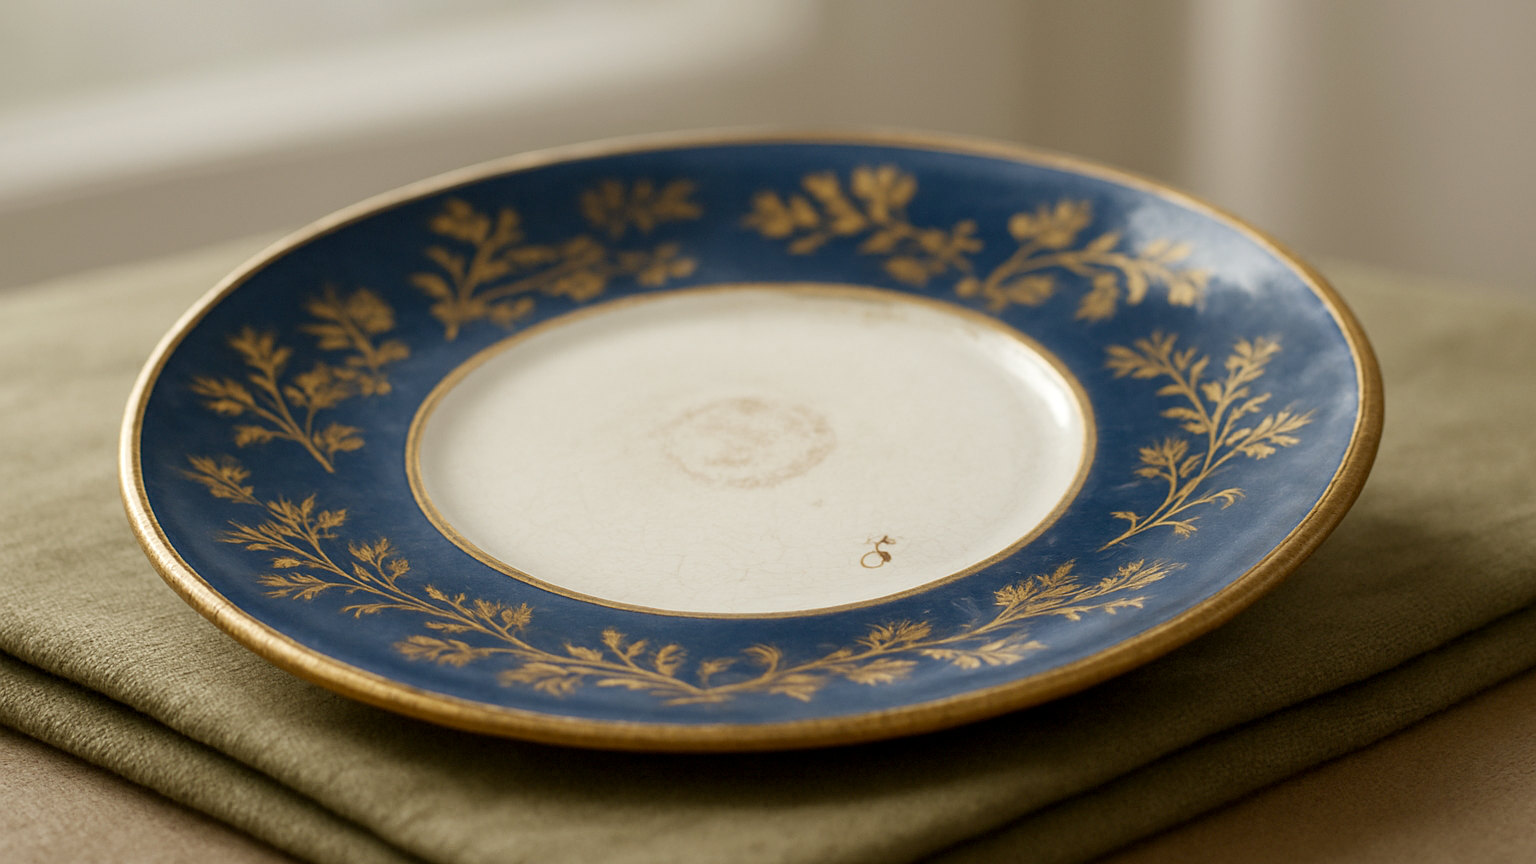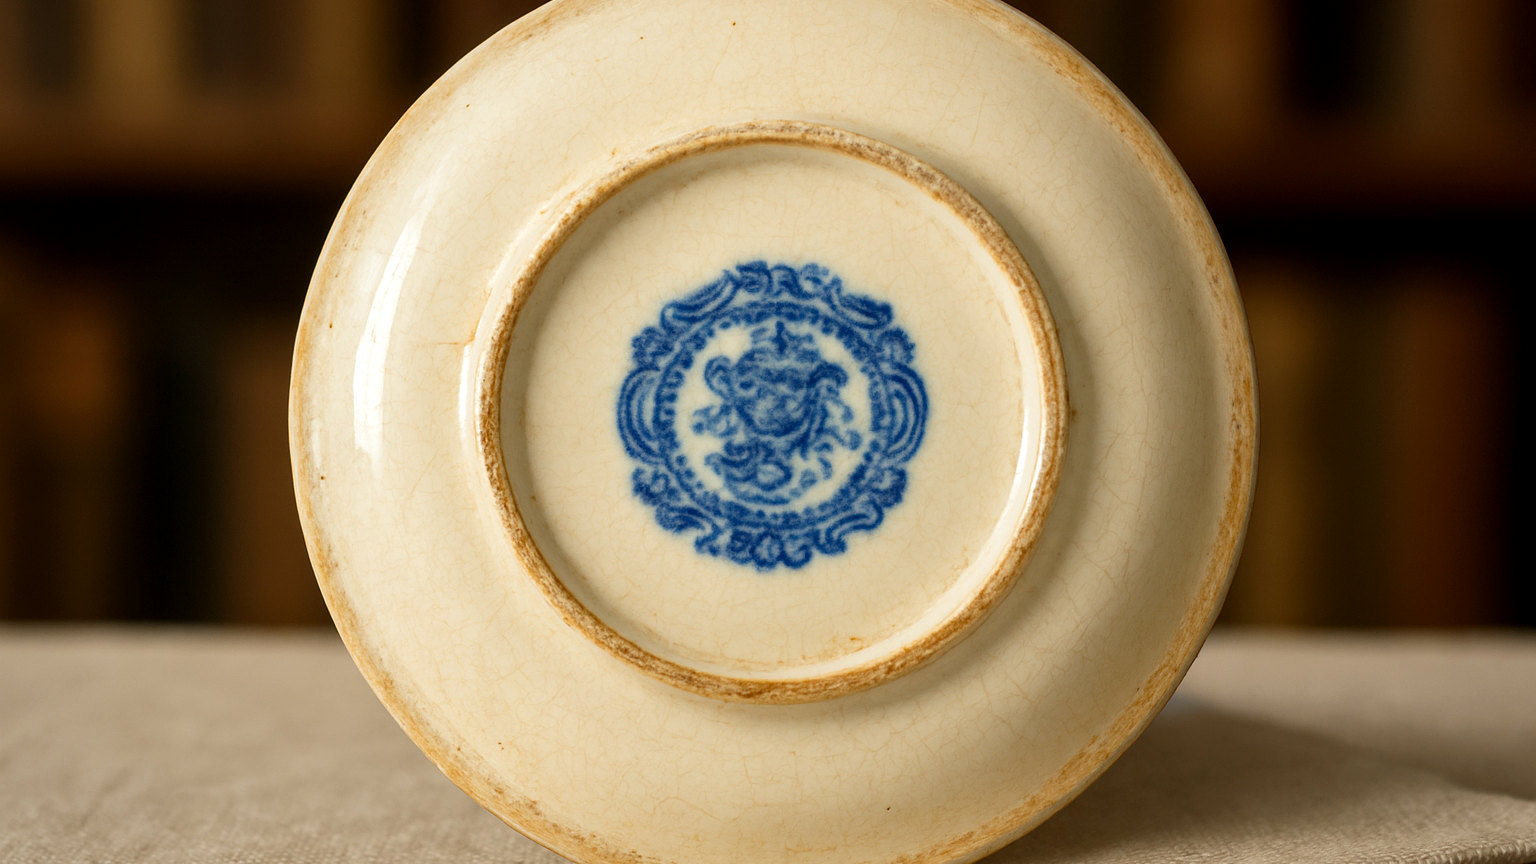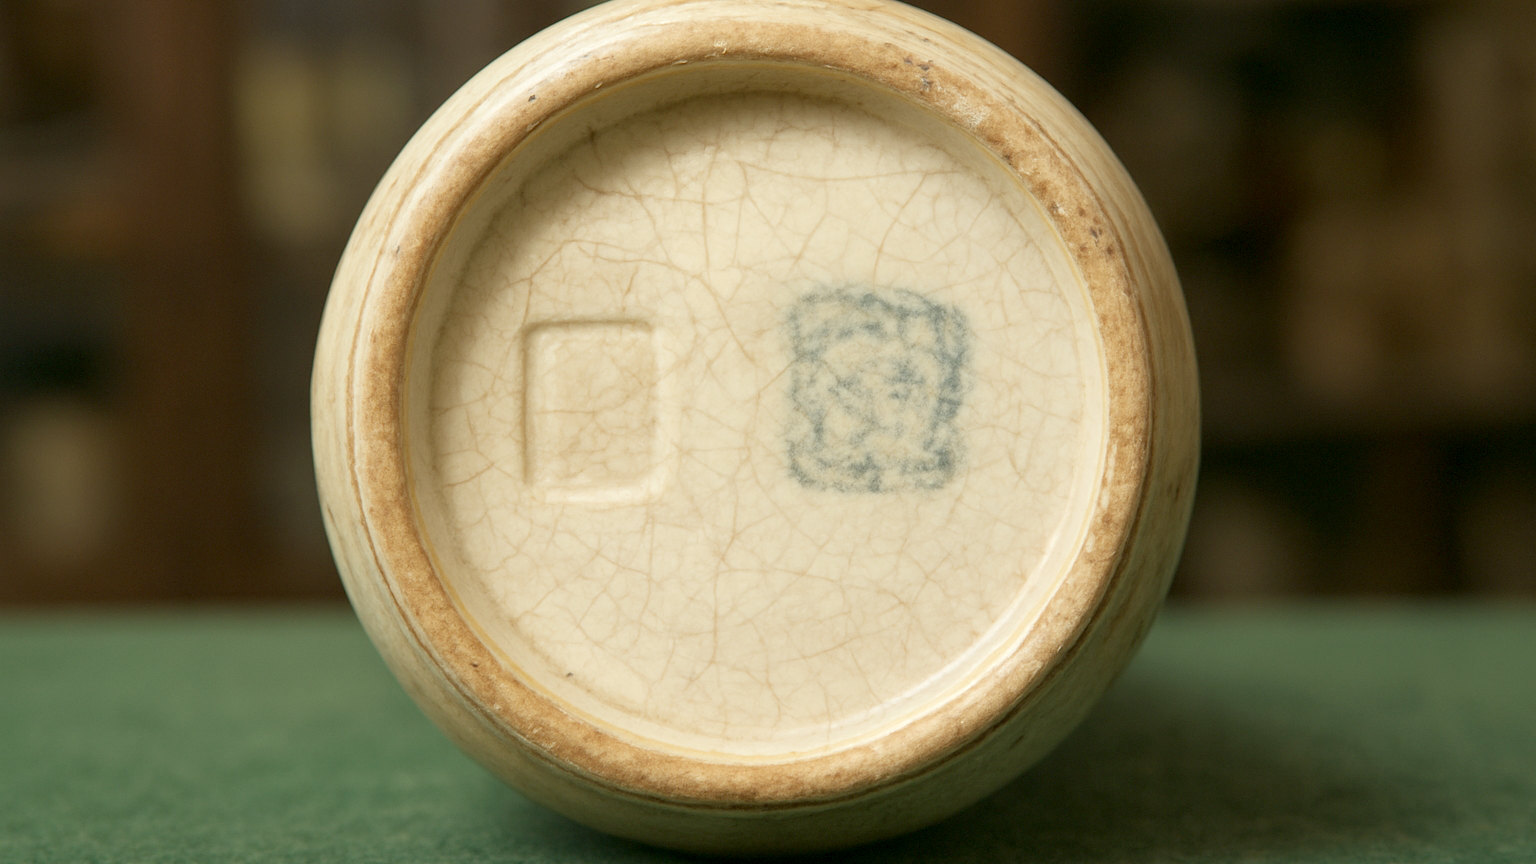
Most requests for help identifying a ceramic fail on the photograph rather than the mark. A base carries several kinds of mark, they need different lighting, and a single image taken with a flash captures none of them properly. Getting it right takes two minutes and transforms the quality of the answer you get back.
Why does one photograph not work?
Because impressed and printed marks require opposite conditions. An impressed mark is a depression and needs shadow to read, so it requires light skimming across at a shallow angle.
A printed or painted mark is flat and needs even illumination to show colour and detail clearly, which raking light ruins by casting shadows across it. Take at least two photographs of every base, one lit each way, rather than trying to compromise between them.
How do you light an impressed mark?
From the side. Place the piece near a window with daylight coming from one direction, or use a desk lamp positioned low and to one side rather than overhead.
Then rotate the piece slowly while watching the mark. At most angles it will be invisible, and at one or two it will suddenly read as the depressions cast small shadows. Photograph from that position, and take several frames at slightly different angles.
How do you light a printed mark?
Evenly and indirectly. Indirect daylight on an overcast day is ideal, or two lamps positioned either side to cancel each other shadows.
Turn the flash off in both cases. On camera flash flattens texture, erases impressed marks entirely and produces a hard reflection on glazed surfaces that obliterates whatever sits beneath it. This single setting causes more unreadable photographs than anything else.
How do you deal with glaze reflections?
By changing the angle rather than the light. A glazed base acts as a mirror, so move the camera and the piece until the reflection falls outside the frame.
Shooting from slightly to one side rather than directly overhead usually solves it. Wearing dark clothing helps, since you are what the glaze is reflecting. Diffusing the light through a thin white sheet or tracing paper softens reflections considerably.
How close should you get?
Close enough to fill the frame with the base, but not so close the lens cannot focus. Most phones have a minimum focus distance of a few centimetres, and pushing past it produces blur no editing will fix.
Back off slightly and crop afterwards instead. Tap the screen on the mark itself to set focus and exposure there rather than on the bright surround, and steady the phone against something solid, since movement destroys fine detail at close range.
What else should you photograph?
The whole piece from the front and from an angle, the profile, and any decoration in detail. A mark means little without knowing what it is attached to.
Include something for scale in one image and record the measurements separately. Photograph the footrim itself, since the colour and texture of exposed clay tells a specialist what body they are looking at, which frequently matters more than the mark.
How much editing is acceptable?
Cropping, straightening and modest contrast adjustment are all reasonable, since they make existing detail visible rather than inventing it. Converting to black and white often makes a shallow impressed mark far clearer.
Do not sharpen aggressively, which creates artefacts that can look like features. Do not attempt to enhance a mark into legibility, since a specialist would rather see an honest unreadable image than a processed one suggesting detail that is not there.
What should never be done to improve a mark?
Anything physical. Do not scrub, polish, pick at a mark or apply anything to it. On an impressed mark under glaze there is nothing to remove; on a painted mark you risk taking the mark off entirely.
Wash the base gently in warm water to remove dirt, dry it, and then use light rather than force. If a mark will not read under angled light it will not read after cleaning either, and describing its shape accurately is more useful than guessing at letters.