Case furniture rewards a systematic inspection, because the problems are consistent across the category and they all show in the same handful of places. Working through them in a fixed order takes ten minutes and catches marriages, replacements, structural failure and alteration before rather than after paying.
Where do you start?
From across the room, looking at proportion. A piece that has been cut down, married or altered frequently looks subtly wrong before you find any physical evidence, and that first impression is worth trusting.
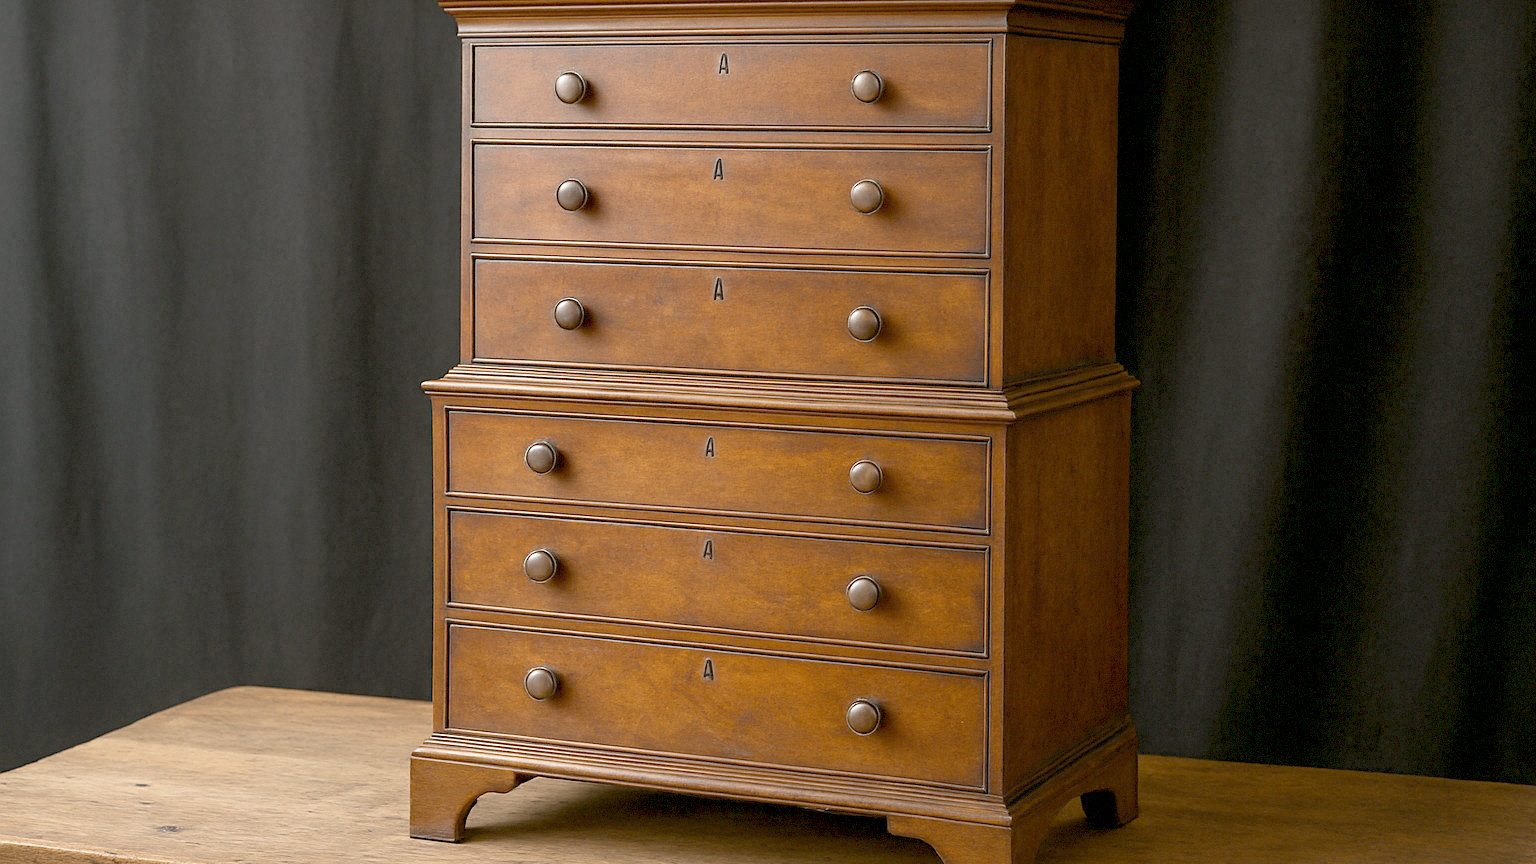
Check the top section sits comfortably within the base on any two part piece, that the cornice matches the width beneath, and that the whole thing looks balanced. Then go closer and find the evidence for whatever seemed off.
What comes next?
Pull out a drawer, which is the single most informative action available. Look at the dovetails at the front corner, the thickness and timber of the linings, and the wear on the underside of the sides.
Hand cut dovetails are few, unevenly spaced with narrow pins. Machine cut joints are numerous and identical. Genuine runner wear appears as a dip along the underside of the drawer sides, and its absence on a piece claimed to be old is worth questioning.
How do you check the handles?
By looking inside the drawer front for filled holes from previous sets. Every generation of handles leaves its own pattern, and three sets of filled holes means three fashion changes.
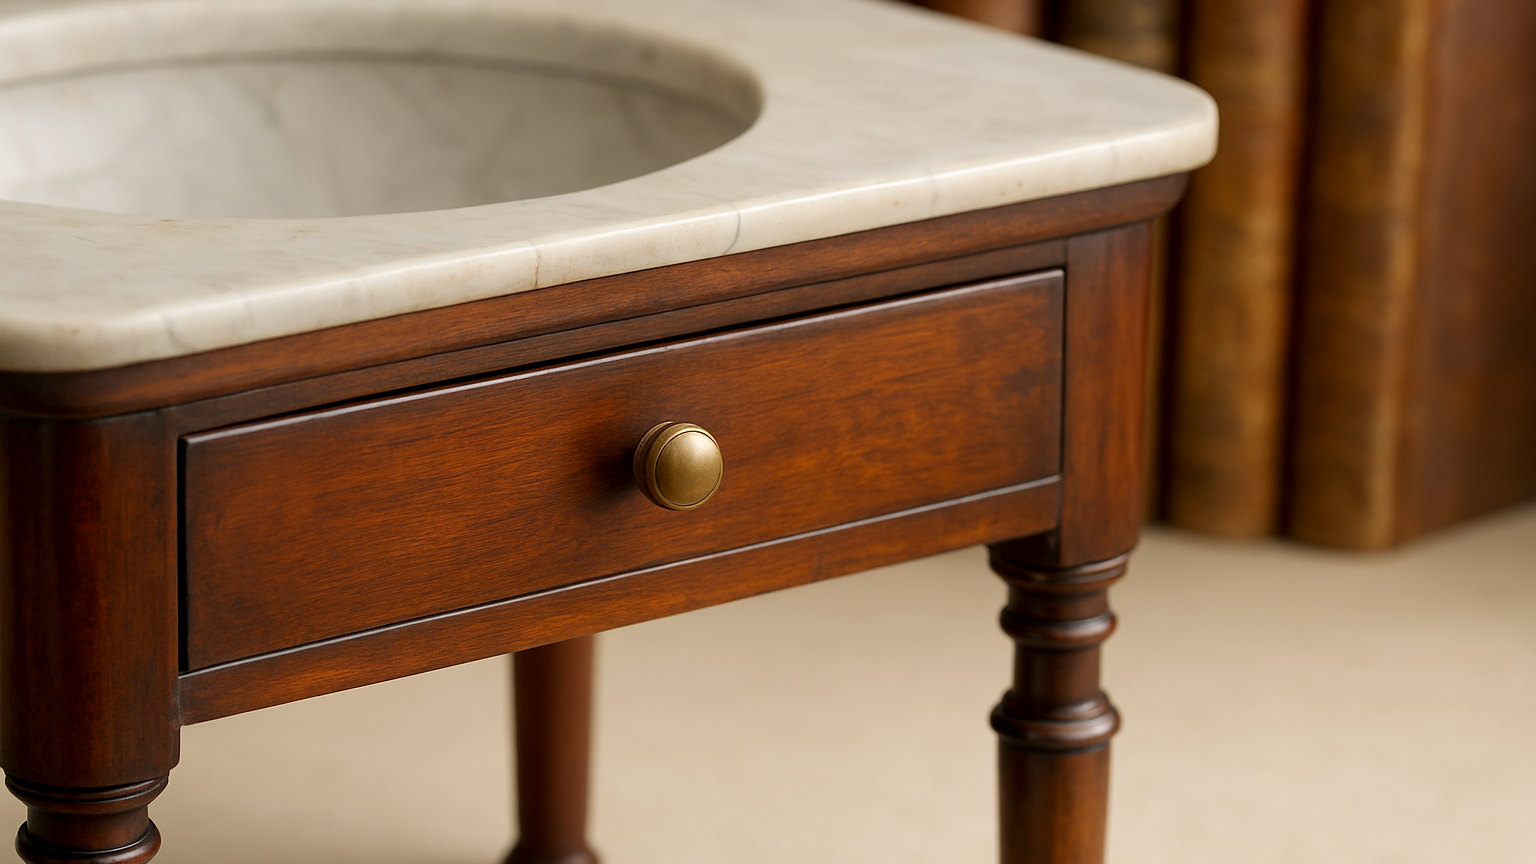
Lift a handle and look at the timber beneath, since original fittings leave an unfaded shadow matching their exact outline. Where that shadow does not match what is fitted, the handles have been changed.
What should you look at on the back?
Everything, because nobody finished it. The backboards show timber, jointing, fixings, saw marks and accumulated dirt, none of which was ever disguised.
On a two part piece, compare the back of each section. Hand forged nails in one and machine cut nails in the other is close to conclusive evidence of a marriage. Look for circular saw arcs, which place a piece in the industrial era regardless of style.
How do you assess the colour?
By comparing exposed and hidden surfaces. There should be a marked difference between the polished exterior and the unpolished interior, developed gradually over decades.
Uniform colour throughout, including inside and on the back, suggests stripping, since dipping tanks colour everything equally. Look also for raised grain and residue in recesses, both of which indicate chemical stripping.
What about the feet and base?
The most commonly replaced part of any case furniture, since feet stood on damp floors and rotted. Look underneath with a torch.
Compare the timber, colour and fixing method of the feet against the carcass. Replacement is acceptable and should be reflected in the price. Check the plinth for splits and for evidence that height has been reduced.
How do you test structural soundness?
Push gently against the top corner and feel whether the carcass racks. Open and close every door and drawer, checking they run smoothly and align properly.
Look for splits in the carcass sides, which are wide panels that shrink, and for lifting veneer on veneered pieces. Check the piece stands square without rocking, since distortion indicates it has been stored badly.
What should you ask the seller?
What has been replaced, what has been restored, and whether the parts are original to each other. Ask for the answers in writing on the receipt along with the date attributed.
A dealer confident in their stock answers plainly, since restoration and replacement are normal on furniture two centuries old. Vagueness is the warning rather than the answers themselves.
What should you measure?
Everything, before committing. Height, width, depth, and crucially the route into the room including doorways, stair turns and landing width.
Check whether the piece dismantles and how. The commonest expensive mistake in furniture is buying something that will not physically enter the room it was bought for, at which point the bargain becomes a resale problem.