Rings are the most commonly inherited jewellery and the most frequently altered, because a ring that does not fit gets resized rather than put away. Every alteration leaves evidence in the shank, and the shank is also where any mark will be, which makes the band rather than the setting the place to start.
Where should you look for marks?
Inside the shank at the back, opposite the setting, since that is the least worn position and the standard place for marking.
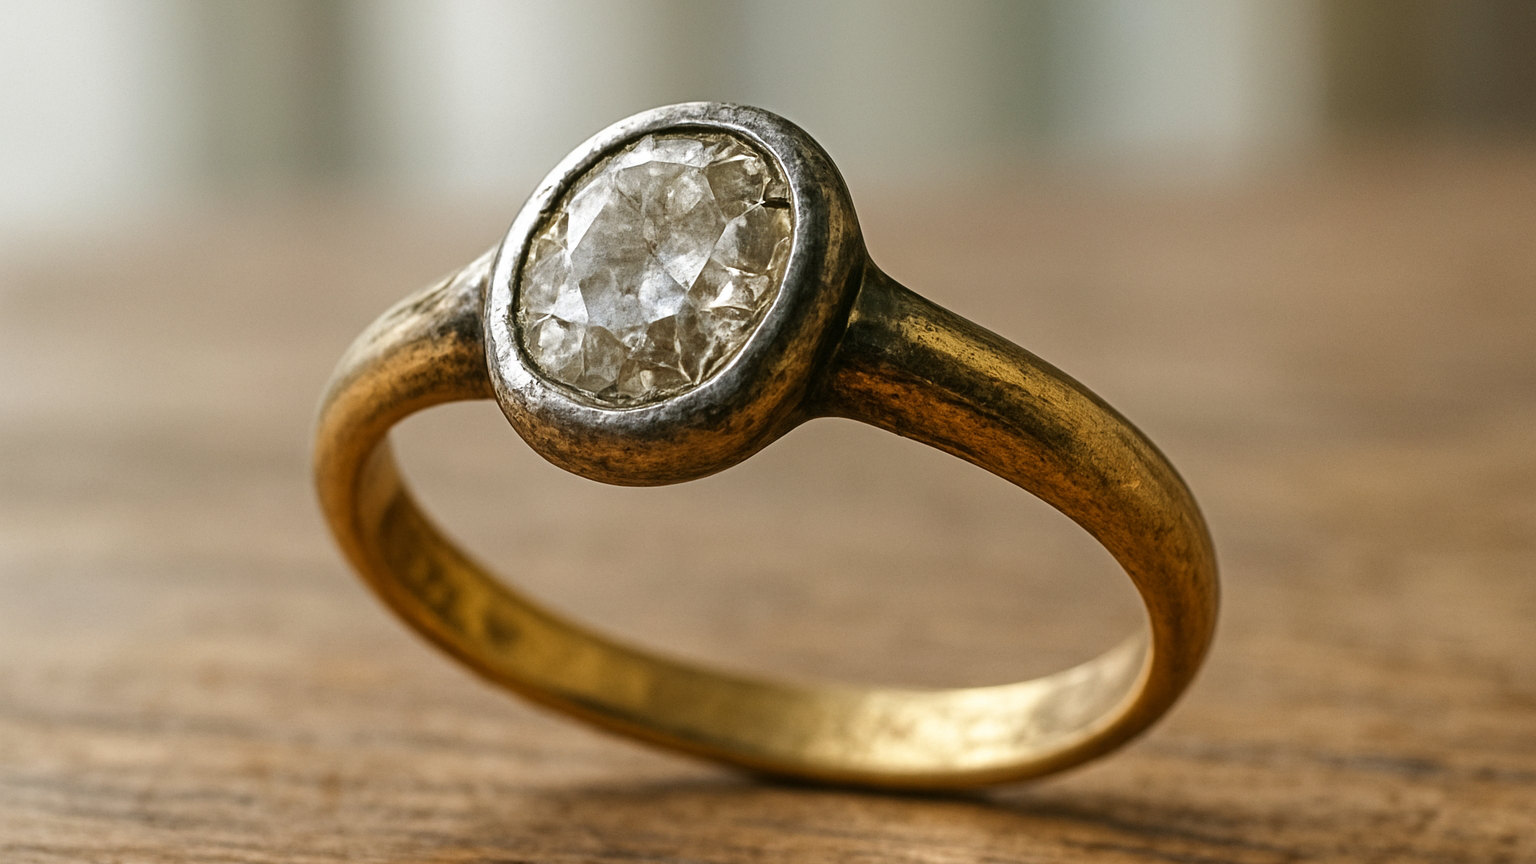
Use magnification and raking light, since ring marks are among the smallest in the field and wear against the finger constantly. A great many antique rings are unmarked entirely, because small items fell below the weight thresholds for compulsory marking, so absence proves nothing about the metal.
How do you spot a resized ring?
By looking for the join. Resizing is done by cutting the shank at the back, adding or removing metal, and soldering it closed, which leaves a seam.
Look for a fine line running across the shank, a slight difference in colour, or a section where the profile of the band changes. Breathe on the shank and watch the condensation clear, since solder and the surrounding metal behave differently and a repair line frequently shows.
Does resizing matter?
Modestly, and less than most people fear. Rings were made to be worn, resizing is normal maintenance, and a competently done alteration barely affects value on most pieces.
What matters more is whether it was done well and whether it damaged anything. A resize that cut through a hallmark, distorted the setting or left a lumpy join does reduce value. Check whether any mark survives intact, since a ring resized through its hallmark loses that certainty.
What does the shank profile tell you?
Period and quality. Early shanks are frequently heavier at the shoulders and taper to a thinner band at the back, made by hand and slightly irregular.
Later machine made bands are uniform in section throughout. Look at whether the shoulders are decorated, split into scrolls, or plain, since these treatments followed fashion. A shank worn very thin at the back indicates long wear and may need building up before the ring is safe to use.
What should you check on the setting?
Whether it is original to the shank and whether the stones are original to the setting. Both are frequently altered, and the joins show.
Look at where the setting meets the shoulders for solder marks, colour differences or a fit that is not quite right. Check the claws for wear and for uneven lengths, which suggests they have been bent to grip a replacement stone rather than made for the one in place.
How do you date a ring without marks?
By the setting, the stone cuts and the construction, exactly as with any period jewellery. Closed back settings with foil beneath the stones indicate earlier work.
Old mine and rose cut stones, with their distinctive proportions, are strong indicators. Silver set diamonds with a gold backing suggest work predating the widespread use of platinum. Hand made settings show slight asymmetry that machine work does not.
What condition issues matter most?
A thin worn shank, worn claws and loose stones, all of which affect whether the ring can safely be worn. Check by pressing gently on each stone with a fingertip and looking for movement.
Look at the shank at the back where it thins fastest, and at the shoulders where the shank meets the setting, since that junction takes stress. A ring with a shank worn to a thread will eventually break, and repairing it before that happens is cheaper than afterwards.
What should you avoid?
Ultrasonic cleaning, which loosens old settings and can shatter fragile or foiled stones. Also avoid immersing any ring with a closed back setting, since water reaching foil ruins the appearance permanently.
Do not have a ring resized by anybody unfamiliar with antique work, and ask specifically that any hallmark be preserved. Wipe with a soft dry cloth, have settings checked periodically by a jeweller, and remove rings before manual work rather than afterwards.